
Maintaining a pristine and inviting swimming pool requires more than just a sparkling smile and a swimsuit. It involves a regular cleaning routine to ensure that your pool remains a haven of refreshment rather than a breeding ground for algae and debris. One of the crucial aspects of pool maintenance is vacuuming. In this comprehensive guide, we will take you through each step to achieve a sparkling clean pool that beckons you for a refreshing dip.
How Often Should You Vacuum Your Above-Ground Pool?
If you want to keep your above-ground pool pristine and in tip-top condition, the rule of thumb is to vacuum it at least once a week. Regular weekly vacuuming serves two crucial purposes: it prevents the accumulation of dirt to levels that could disrupt your pool’s water chemistry, and it significantly reduces the chances of clogging.
Additional Weekly Maintenance Tasks
In addition to vacuuming, there are several other weekly maintenance tasks to consider. These include backwashing and checking the chemical levels in your pool. These steps are vital in maintaining the water quality and clarity of your above-ground pool.
Pre-Vacuuming Preparation
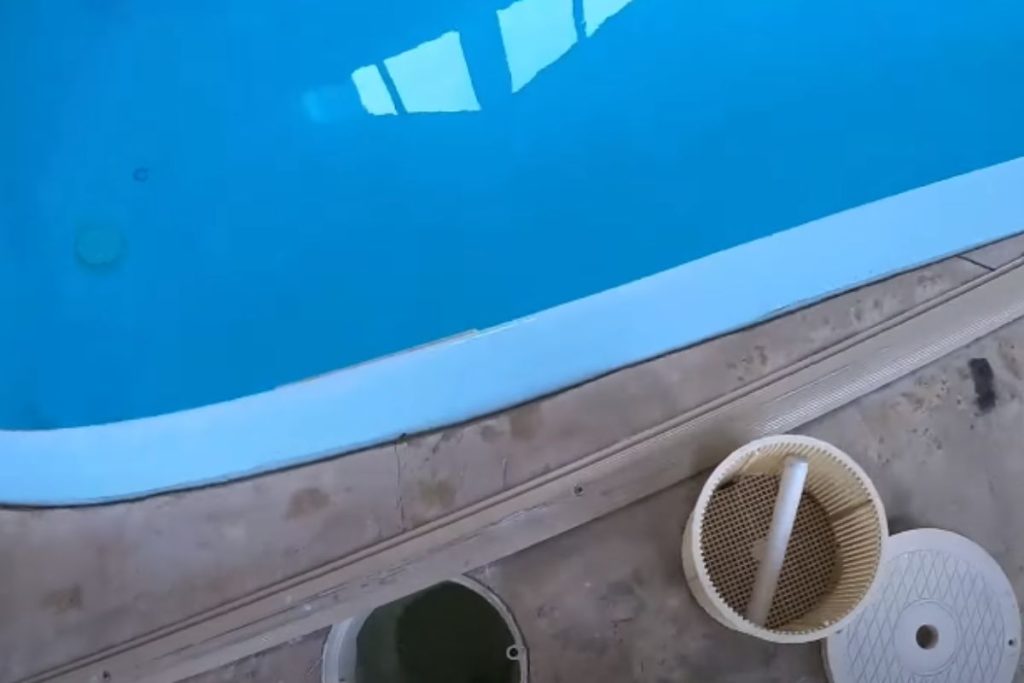
Before you embark on your vacuuming mission, there are a few essential steps to take. Firstly, ensure that both your pump and skimmer baskets are completely empty. This is crucial because it guarantees maximum suction power during the vacuuming process, allowing you to clean your pool quickly and efficiently.
By adhering to this routine, your above-ground pool will remain invitingly clean, and you’ll have more time to enjoy it without the hassle of water chemistry issues or clogs. Happy swimming!
Pool Vacuuming Supplies
Before you take the plunge into pool vacuuming, let’s gather the essential supplies you’ll need. Having the right tools at hand ensures a smooth and effective cleaning process.
Pool Vacuum: The star of the show, your pool vacuum, is designed to suck up dirt and debris from the pool floor and walls. Make sure you have the appropriate vacuum head for your pool type – concrete, vinyl, or fiberglass.
Telescopic Pole: This handy tool allows you to reach all corners of your pool without straining your back. Attach the vacuum head to one end and a hose to the other.
Vacuum Hose: You’ll need a long vacuum hose to connect the vacuum head to the skimmer. Ensure it’s in good condition, and free from leaks or cracks.
Skimmer Basket: Keep your skimmer basket clean to maintain optimal suction. A clogged skimmer can hinder your vacuuming efforts.
Water Chemistry Test Kit: Regularly test your pool water to ensure it’s balanced and safe for swimming. Unbalanced water can lead to algae growth.
Backwash Hose: If you have a sand or DE filter, you’ll need a backwash hose to dispose of the wastewater from the filter.
Pool Brush: For stubborn spots and algae on the pool walls and floor, a pool brush is indispensable.
Leaf Net: An optional but handy tool to remove larger debris like leaves before vacuuming.
Now that we’ve got our supplies ready, let’s move on to the next step.
Check Your Pool Filter Settings
Before you start vacuuming, it’s crucial to ensure your pool filter system is set up correctly. Proper filter settings are essential to facilitate the vacuuming process and keep your pool water clean.
1. Turn off the Pool Pump: Safety first! Before adjusting any settings, turn off your pool pump to avoid any accidents.
2. Set the Multiport Valve to “Waste”: If you have a multiport valve, switch it to the “Waste” position. This ensures that the vacuumed debris bypasses the filter and goes directly out of the pool.
3. Adjust the Skimmer Valve: If you have both a skimmer and a main drain, adjust the skimmer valve to decrease suction from the skimmer and increase it from the main drain. This optimizes the vacuum’s efficiency.
4. Prime the Vacuum Hose: Submerge the vacuum hose completely in the pool to fill it with water, eliminating any air bubbles.
With your pool filter settings checked and adjusted, you’re ready to get down to business.
Step #1. Set Up Your Pool Vacuum
Now that you’ve got your equipment and filter settings in order, let’s set up your pool vacuum for action.
1. Attach the Vacuum Head: Connect the vacuum head to the telescopic pole securely. Ensure it’s snug to avoid any disconnections during the cleaning process.
2. Connect the Vacuum Hose: Attach one end of the vacuum hose to the vacuum head and the other end to the skimmer or dedicated vacuum line. Make sure the hose is submerged and filled with water to prevent air from entering the system.
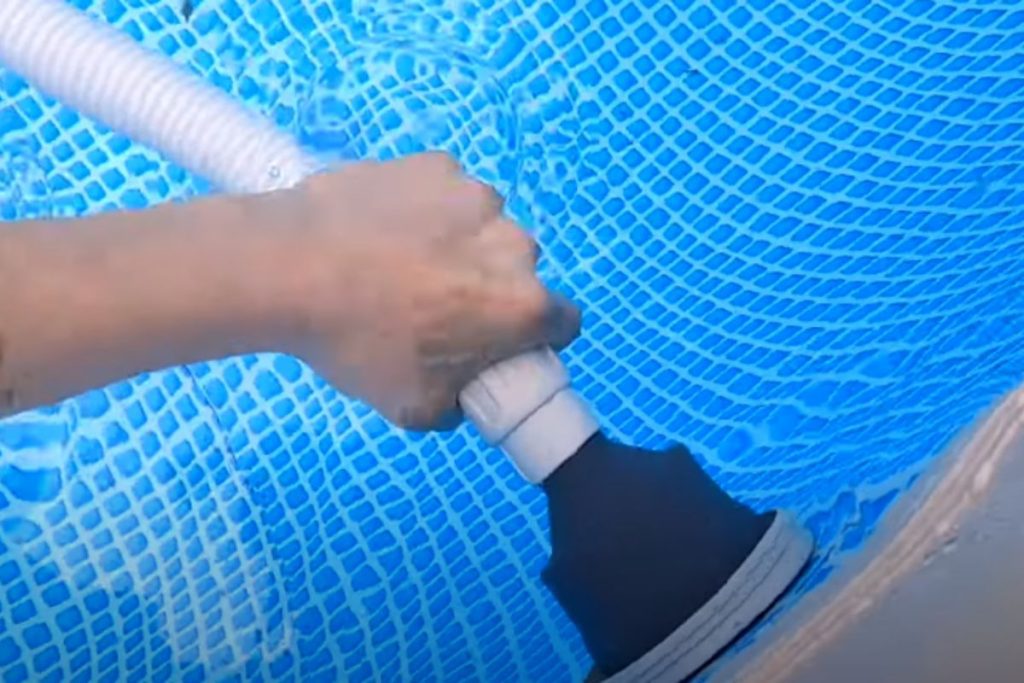
3. Submerge the Vacuum: Lower the vacuum head into the pool, allowing it to sink to the bottom. The hose and pole should follow, ensuring the entire setup is submerged.
4. Start the Pool Pump:
- Check Your Equipment: Before starting the pool pump, make sure that all the necessary equipment, including the skimmer baskets and pump strainer basket, are clean and free from debris.
- Prime the Pump: To ensure proper water circulation, it’s essential to prime the pump. This involves filling the pump strainer basket with water. You can do this by removing the pump lid and using a hose or a bucket to add water until it reaches the top of the basket.
- Turn On the Power: Locate the power switch or control panel for your pool pump. It’s usually near the pump itself or on a nearby wall. Turn the pump on by flipping the switch or using the control panel.
- Monitor for Air Bubbles: As the pump starts, keep an eye on the pump strainer basket for any air bubbles. Air in the system can affect pump efficiency. If you see air bubbles, you may need to repeat the priming process.
- Check for Leaks: While the pump is running, inspect the area around the pump and the pipes for any signs of leaks. If you notice any leaks, turn off the pump immediately and address the issue before continuing.
- Adjust the Flow: Depending on your pool’s needs, you may need to adjust the flow rate of the pump. This can usually be done using the pump’s control settings. Consult your pool pump’s manual for specific instructions on flow rate adjustment.
- Set a Timer: To maintain proper water circulation and filtration, it’s a good practice to set a timer for your pool pump. This will help you automate the pump’s operation, ensuring that your pool water remains clean and clear.
Pool Care Video Course
If you’re a visual learner or prefer step-by-step instructions in action, consider watching a pool care video course. Many online resources provide comprehensive guides on pool maintenance, including vacuuming. These videos can be a valuable supplement to your pool care routine.
Step #2. Vacuum Your Pool
With the vacuum set up and your pool pump running, it’s time to tackle the dirt and debris that have settled at the bottom of your pool.
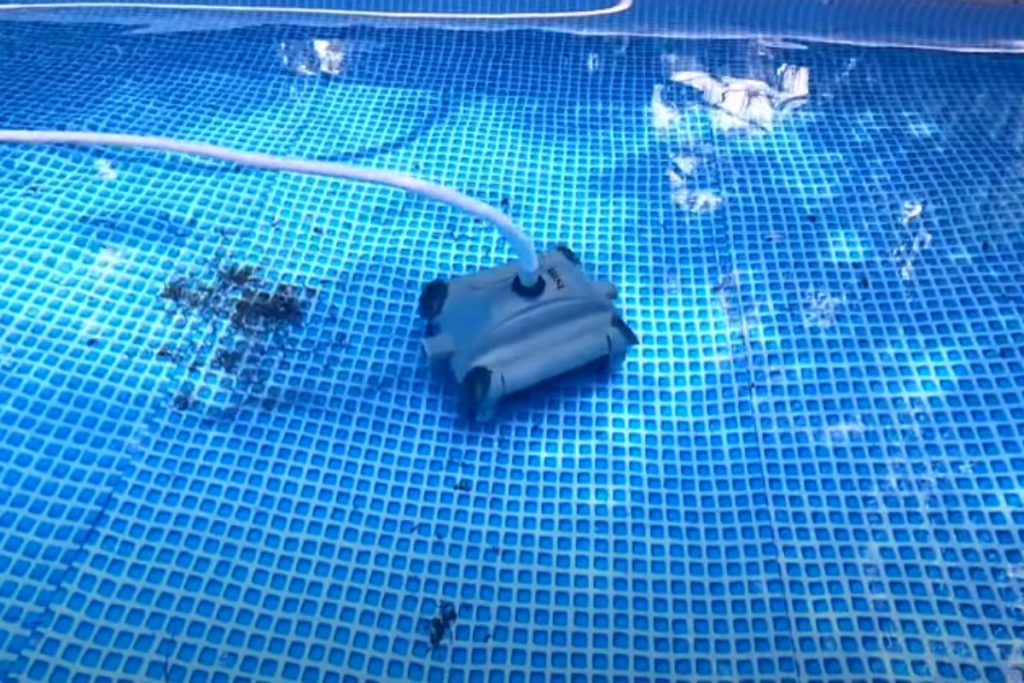
1. Move Methodically: Begin at one end of the pool and slowly move the vacuum head along the pool floor in a systematic pattern. Overlap each pass slightly to ensure thorough cleaning.
2. Pay Attention to Corners: Pooled debris often accumulates in corners and along the walls. Take extra time to vacuum these areas.
3. Brush as You Go: Use a pool brush to loosen stubborn dirt and algae from the pool surface as you vacuum. This will help the vacuum pick up more effectively.
4. Empty the Skimmer Basket: Periodically check and empty the skimmer basket to maintain optimal suction.
Step #3. Clean Your Equipment and Test Your Water
Congratulations, you’ve successfully vacuumed your pool! But before you jump in for a swim, there are a few final steps to ensure your pool is in top-notch condition.
1. Rinse Your Equipment: After vacuuming, rinse the vacuum head, hose, and pole to remove any residual debris and chemicals. Properly store your equipment in a dry area.
2. Test the Water: Use your water chemistry test kit to check the pool’s pH, chlorine levels, and other chemical parameters. Adjust as necessary to maintain a balanced pool.
3. Backwash the Filter: If you have a sand or DE filter, it’s time to backwash it to remove trapped debris and maintain proper filtration.
4. Enjoy Your Clean Pool: With everything in order, your pool is now ready for swimming! Dive in and relish the crystal-clear waters.
In conclusion, mastering the art of pool vacuuming is essential for any pool owner. By following these steps and maintaining a regular cleaning routine, you can enjoy a clean and inviting pool all season long. So, gear up, get your pool vacuum ready, and make a splash into a world of pristine waters. Happy swimming!
Frequently Asked Questions
1. Which configuration should be selected for your pool filter during the process of vacuuming?
In the pursuit of piscine cleanliness, when embarking on the task of vacuuming your pool, it is prudent to configure the multiport to its customary “Filter” stance.
2. How can you effectively perform the vacuuming of an above-ground pool sans the employment of a vacuum plate?
To proficiently execute the vacuuming of an above-ground pool in the absence of a vacuum plate, it becomes necessary to disengage the skimmer basket and insert the vacuum hose directly into the orifice that conventionally orchestrates the suction of water. For this endeavor to attain fruition, it is imperative that the system remains operational, as failure to do so will result in the buoyant ascent of the hose, rendering the task unfeasible.
3. What is the optimal approach for vacuuming an above-ground pool equipped with a sand filtration system?
In the meticulous undertaking of vacuuming an above-ground pool fortified with the apparatus of a sand filtration system, one must first undertake the cleansing of both the skimmer and pump receptacles. Following this preparatory step, proceed to configure the multiport to the ‘filter’ setting prior to embarking on the vacuuming process. Upon the completion of this task, it is incumbent to once more evacuate the contents of both receptacles, followed by the execution of a backwash procedure. This maneuver serves the purpose of expelling the accumulation of detritus that was suctioned during the vacuuming process, thus reinstating your filter to a state of operational equilibrium, akin to its initial condition before the commencement of the vacuuming operation.